


Disc cutters are innovative tools in the world of jewelry making. They bring precision and efficiency to your bench, allowing you to easily create clean, consistent pieces. No matter your experience level, a disc cutter is a tool that can improve your craftsmanship and fuel your creativity.
What is a Disc Cutter?
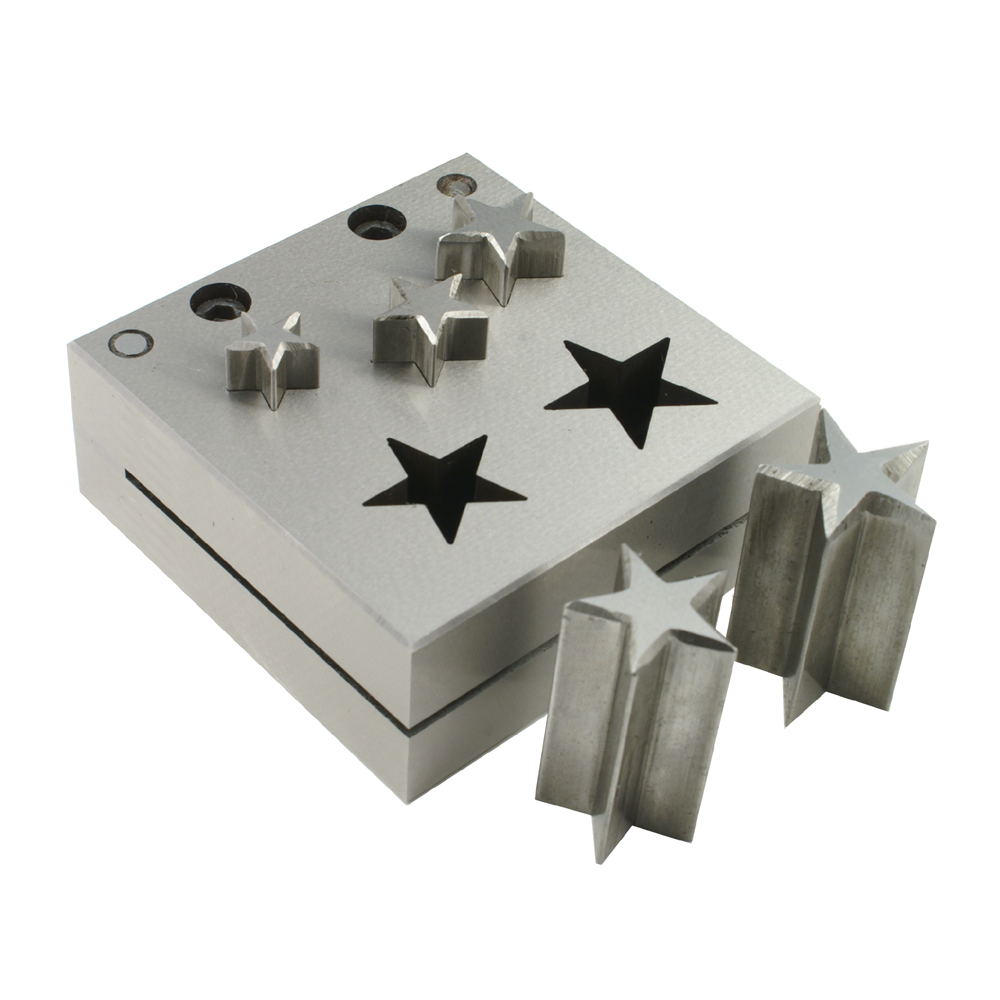
A disc cutter is a tool used to punch out perfect shapes from sheets of metal. Think of it as a hole punch specifically designed for use with metal sheets. It typically consists of a sturdy base with several holes of different sizes and a set of corresponding punches that fit snugly into these holes.
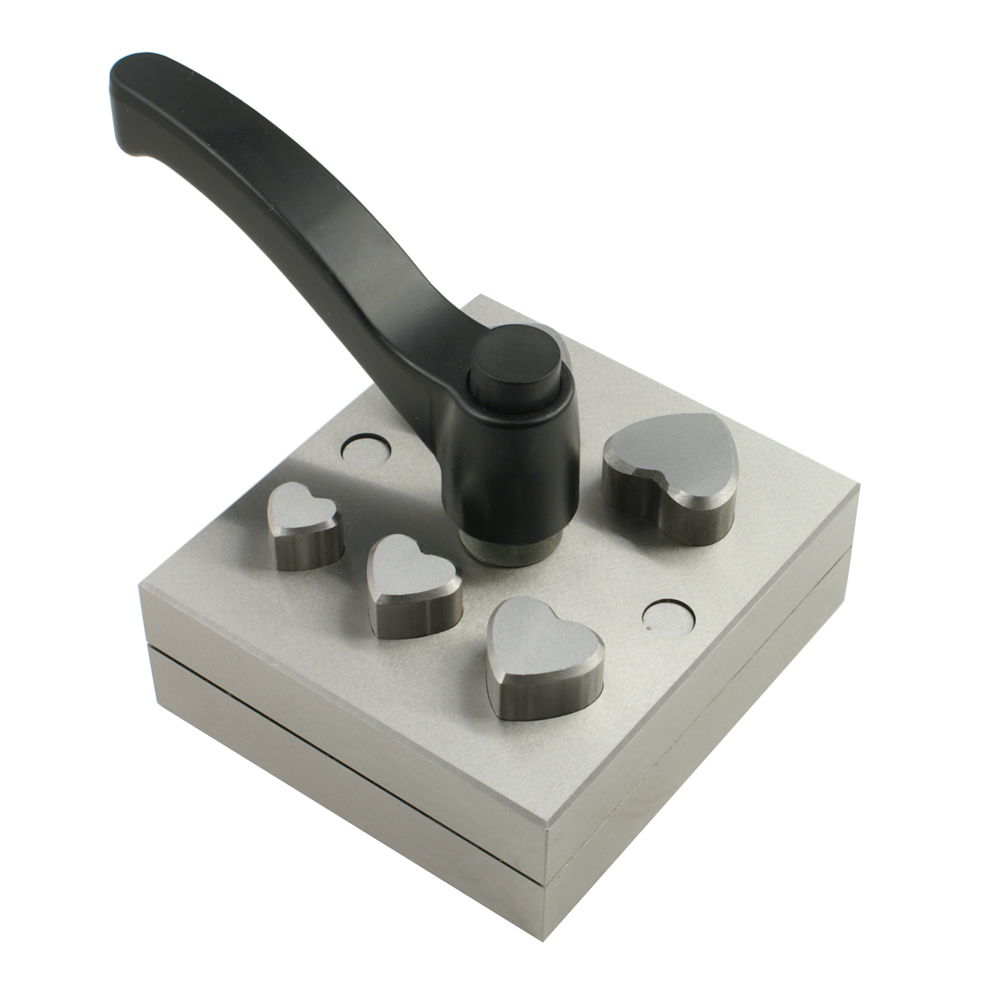
Disc cutters come in a variety of shapes and sizes. Going for a celestial theme? Our star disc cutter would be a great option. Making pieces for Valentine’s Day? Try our heart disc cutter. Not only do we offer fun shapes, but we also have standard circle disc cutters in various sizes and at various price points. All of our disc cutters come with a variety of sizes of punches.
Why Use a Disc Cutter?
A disc cutter ensures that every shape you cut is perfectly uniform, something that is almost impossible to achieve with hand cutting. Using a disc cutter is also much faster than cutting by hand. They are efficient, which is important when you are working on multiple pieces. Additionally, they come in various shapes and sizes, allowing you to create everything from tiny accent pieces to larger focal points in your designs. They are perfect for making charms, pendants, washers, negative spaces, and much more.
How to Use a Disc Cutter
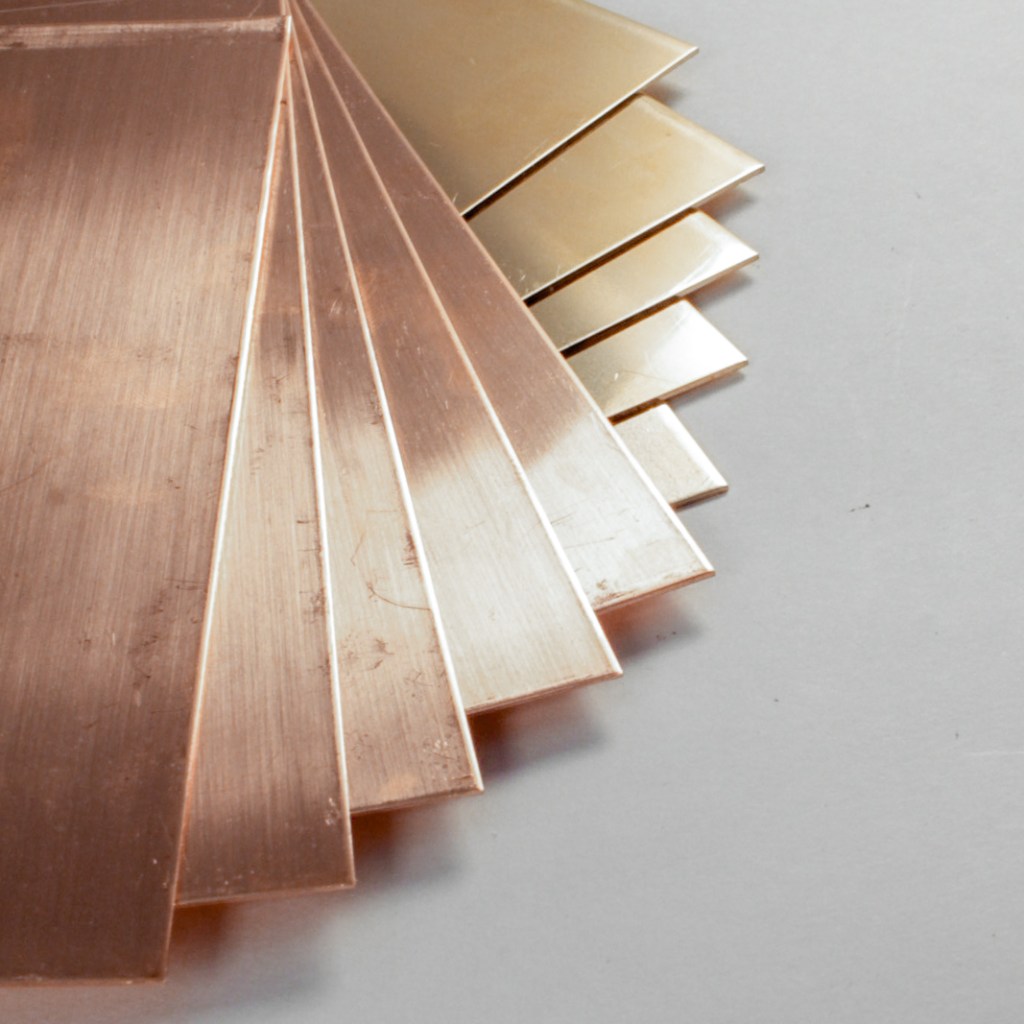
- Choose Your Metal: Most disc cutters are designed to cut annealed metal ranging from 24 to 20 gauge, though this can differ between models so be sure to review your disc cutter’s specifications before selecting your metal. Most of our disc cutters easily cut up to 20 gauge metal and work with a variety of non-ferrous metals, including gold, silver, brass, copper, bronze, and nickel. For the best results, make sure your metal is clean, flat, annealed, and free of defects before using the disc cutter.
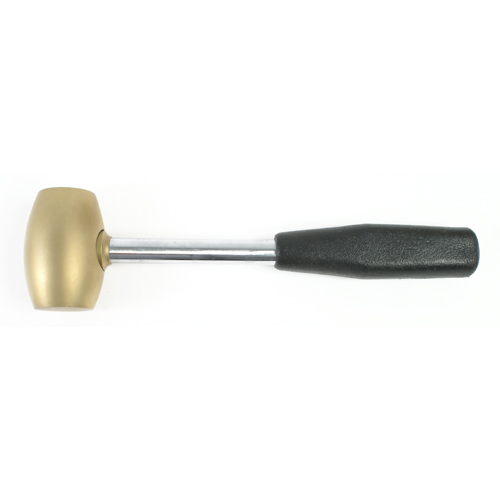
- Prepare Your Work Area: Set up your disc cutter on a stable, flat surface. Have a heavy brass mallet and lubrication for your punch at the ready. Other non-marring mallets are also acceptable, but we recommend avoiding steel as striking a steel hammer against a steel punch can be dangerous.
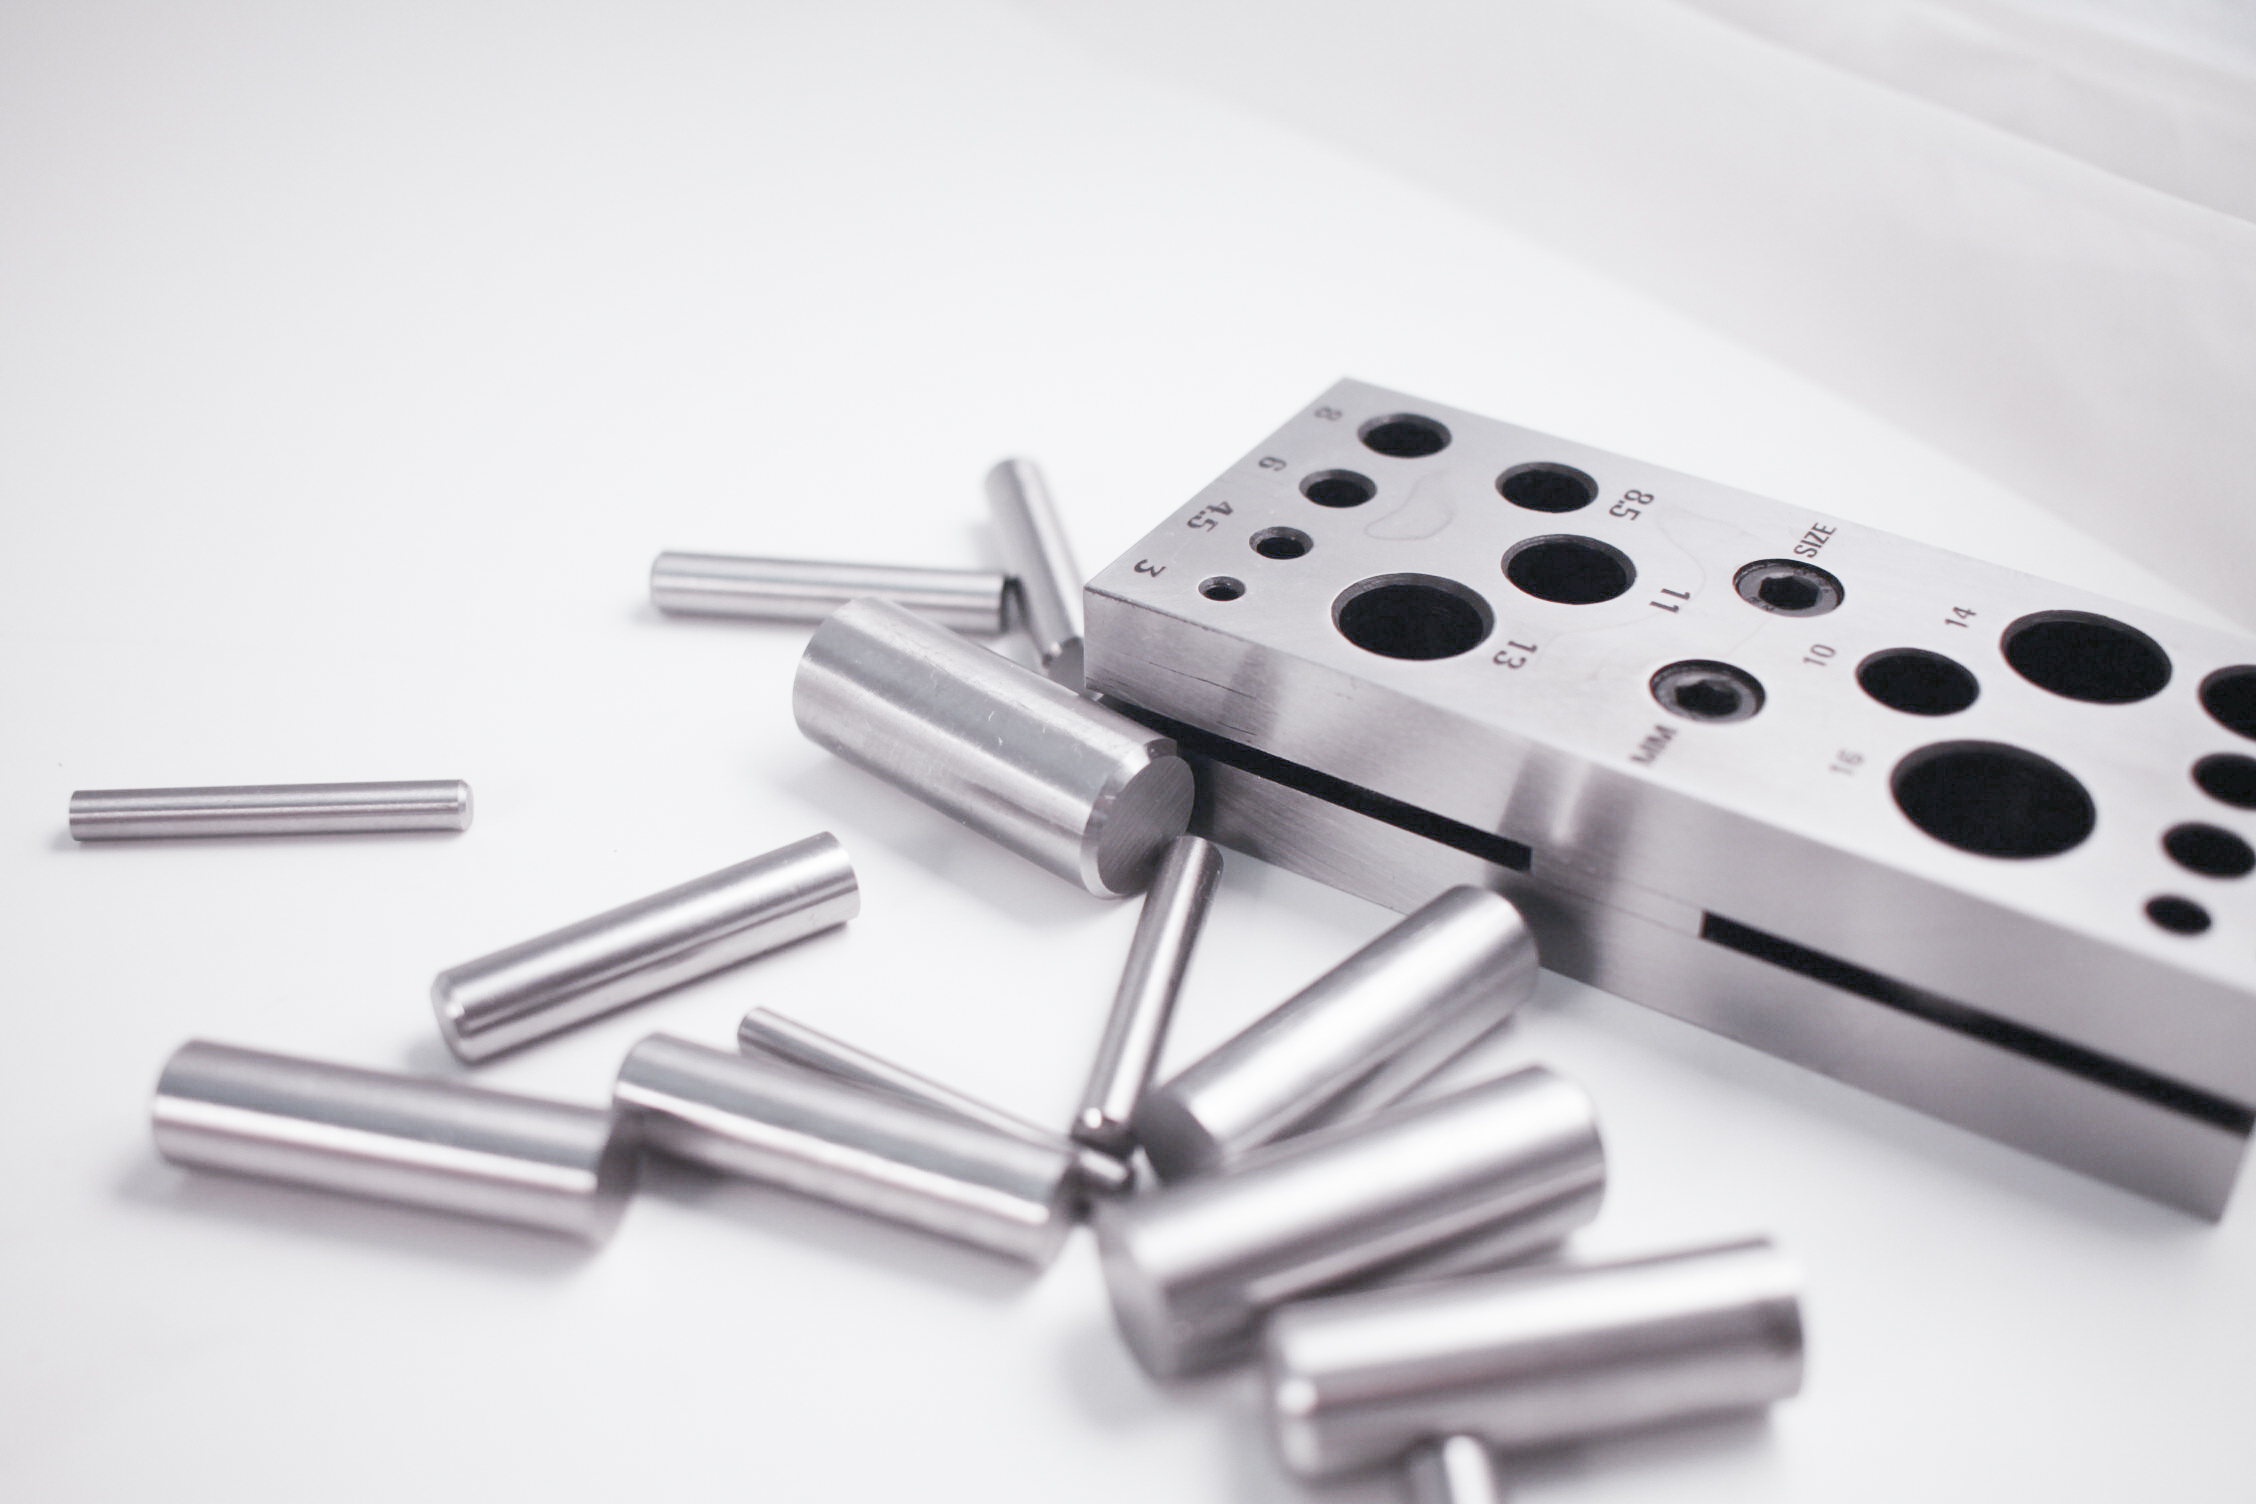
- Select the Punch Size: Most disc cutters come with punches of various sizes. Choose the punch that matches the size of the disc you want to make.
- Position the Metal Sheet: Place the metal sheet between the cutting plates of the disc cutter. Align it properly to make sure the disc is cut from the desired area.
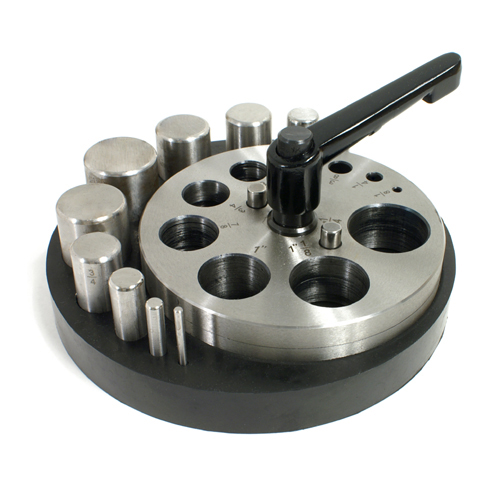
- Secure the Metal Sheet: If your particular disc cutter has a handle for screwing the plates together, like our 10-punch circle disc cutter, tighten it down to secure your metal. This will prevent any movement during the cutting process, making sure you get a clean cut. If your disc cutter does not have this feature, press the punch down firmly on your metal to help hold it in place.
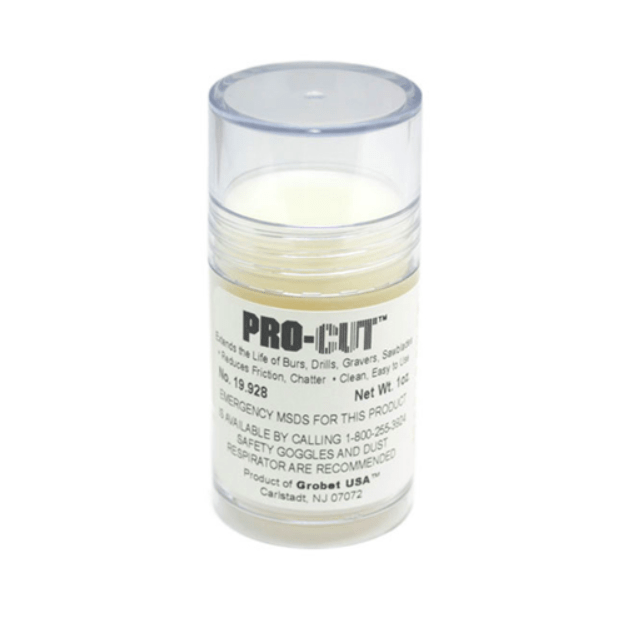
- Lubricate the Punch: Use Pro-Cut, cutting oil, beeswax, or a similar type of lubrication on the cutting edge and sides of the punch.
- Cut the Disc: Position the punch over the metal sheet and strike it with the mallet firmly and evenly to get a clean cut.
- Remove and Inspect the Disc: Once the disc is cut, remove it from the cutter and inspect it for any rough edges or imperfections. You can use a file or sandpaper to smooth them out if needed.
Tips for Getting the Best Results
- Striking Tool: Use a heavy brass mallet. This will prevent bounce back and prevent deforming of the punch. We recommend our 2 lb brass mallet for best results.
- Use Lubrication: Applying a bit of lubricant to the punch helps it move through the plates, gives you a cleaner cut, and makes it so the punch can easily be removed after cutting. It will also help to prolong the life of your disc cutter.
- Metal Pliability: If your metal is too hard it will make it difficult for the punch to go through it, in this case, it is best to anneal your metal first. If your metal is too soft, it might deform rather than cut cleanly. Consider work hardening your metal a bit if necessary.
- Practice on Scraps: Before using your disc cutter on expensive metals, practice on scraps to get a feel for the tool and make sure you’re comfortable with the process.
Disc cutters transform the process of jewelry making allowing you to easily cut out shapes in precise, uniform pieces. They speed up production time and improve the quality and consistency of your work. By reducing the manual effort required to cut each piece, disc cutters give you the time to focus on your creativity and designs. So, the next time you’re working on a new project, consider using these handy, productive tools in your creation.
Check out our Youtube video on choosing and using your first disc cutter!
